


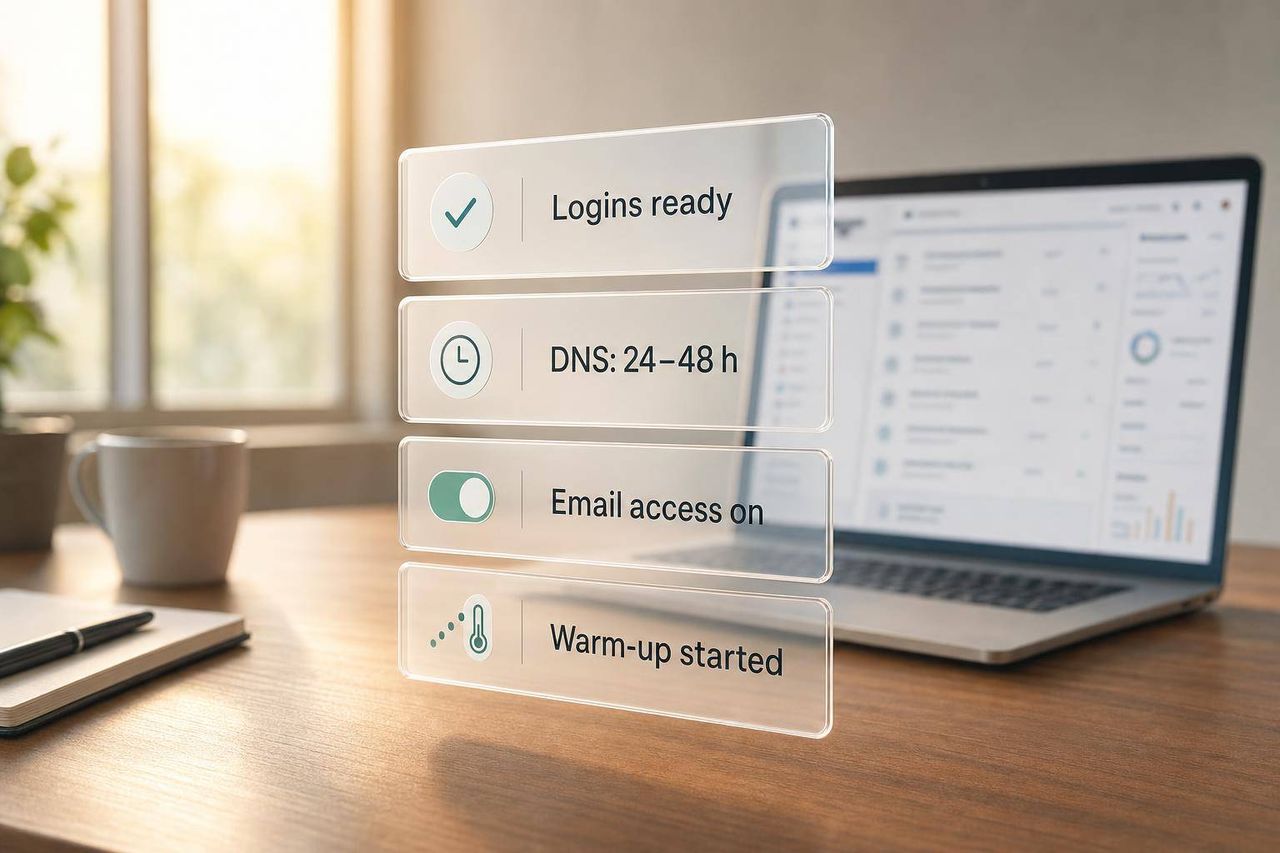
Connect IceMail inboxes to Instantly.ai by verifying login, waiting 24-48 hours for DNS propagation, confirming SPF/DKIM/DMARC pass, using OAuth when possible, enabling warm-up for 14 days, and starting at 5-10 emails daily before scaling
- Verify webmail login and wait 24-48 hours for DNS propagation before connecting mailboxes
- Use Google OAuth or Microsoft OAuth for stable connections when available
- Enable warm-up first and let new inboxes warm for 14 days minimum
- Start at 5-10 emails per day and gradually scale to 30-50 daily sends
- Confirm SPF, DKIM, and DMARC all show PASS before launching campaigns
- IceMail automates DNS setup while Zapmail.ai requires more manual configuration
How to Set Up IceMail Mailboxes with Instantly.ai (Full Walkthrough)
If you want IceMail inboxes to work in Instantly.ai, I'd do 3 things first: confirm login, wait 24–48 hours for DNS to finish, and check that SPF, DKIM, and DMARC all pass. That alone prevents a lot of setup failures.
Here's the short version: I'd prepare each mailbox before I connect it, use Google OAuth or Microsoft OAuth when possible, and only use IMAP/SMTP when I need manual setup or CSV bulk import. After that, I'd turn on warm-up, start at 5–10 emails per day, and slowly move toward 30–50 daily sends per mailbox.
What matters most:
- Use a secondary domain, not your main company domain
- Verify webmail login for every inbox before import
- Wait 24–48 hours after DNS setup before sending
- Check Gmail "Show original" and make sure SPF, DKIM, and DMARC say PASS
- Keep IMAP and SMTP on
- Turn on warm-up first and let new inboxes warm for 14 days
- Give new domains 3–4 weeks before cold outreach
- Aim for a 90%+ warm-up health score
- Test deliverability with seed inboxes or mail-tester.com, and look for 9/10+
If I were doing this myself, I'd treat setup like a checklist, not a guess. Most problems come from bad passwords, wrong ports, SMTP auth being off, or DNS records that haven't finished updating yet.
One more point: the article also compares IceMail vs. Zapmail.ai. The main takeaway is simple: IceMail does more of the mailbox and DNS setup for you, while Zapmail.ai needs more manual work.
Step By Step Instantly Setup For Cold Email Success
Quick Comparison
| Area | IceMail | Zapmail.ai |
|---|---|---|
| Inbox setup time | About 10 minutes | More setup time |
| DNS setup | SPF, DKIM, DMARC handled for you | More manual setup |
| Instantly import | 1-click CSV export | Manual formatting |
| Provider support | Google Workspace and Microsoft | More limited |
I'd use this guide as a short path: prep the mailbox, connect it the right way, warm it up, test it, then launch.
Prepare Your IceMail Mailboxes Before Connecting
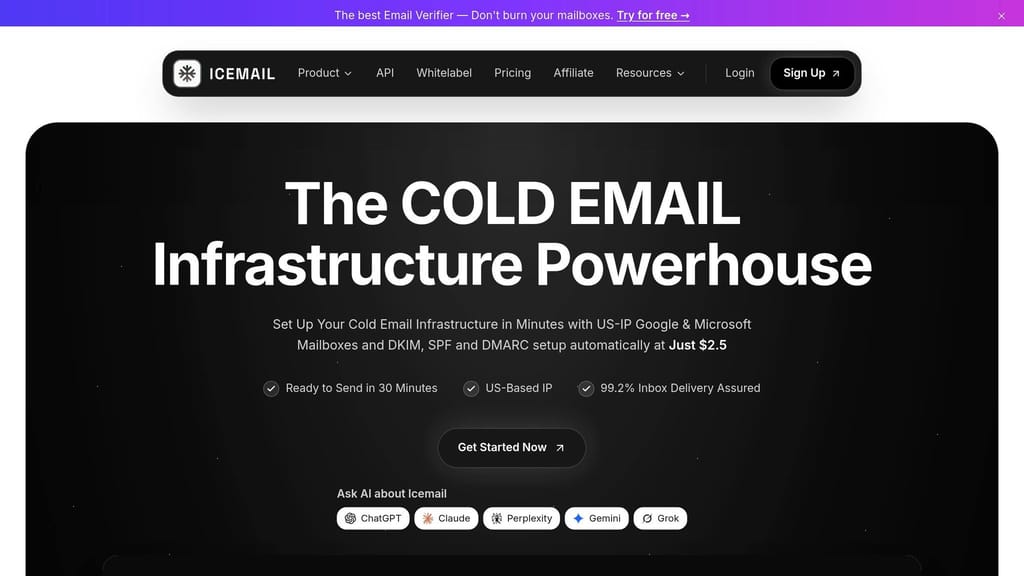
Skipping the prep work is the fastest way to run into connection errors in Instantly.ai. A few checks now can save a lot of time later.
Create or Access Your IceMail Inboxes
If you haven't created your inboxes yet, IceMail lets you buy Google Workspace or Microsoft mailboxes in bulk right from the platform. Once the inboxes are provisioned, make sure you can log into each one before you do anything else.
That step matters more than it seems. If a mailbox won't let you in at this stage, it's almost certain to cause problems when you try to add it to Instantly. After the inboxes are set up, confirm login and authentication before moving on.
Confirm Login, DNS, and Authentication Are Working
Start by logging into each IceMail mailbox. Then check DNS and authentication before connecting anything to Instantly. For each domain, SPF, DKIM, and DMARC should all pass.
IceMail handles DNS record setup for you, so these records are usually configured during provisioning. That said, DNS still needs time to spread across the internet. In most cases, that takes 24 to 48 hours after records are added. Until then, don't send at volume.
A simple way to double-check authentication is to send a test email to a personal Gmail address, open the message menu, and click "Show original". You want all three records to show PASS.
Before you connect, verify these items:
- Login - Webmail access works for each mailbox
- SPF / DKIM / DMARC - All records show PASS (check through Gmail "Show original" headers)
- DNS Propagation - Records have fully propagated (wait 24–48 hours after setup)
Check Access Requirements for Google and Microsoft Mailboxes
Google Workspace and Microsoft inboxes don't connect to Instantly the same way.
For Google Workspace, OAuth is the recommended method. It tends to be more stable and is the option Google prefers.
For Microsoft-based IceMail inboxes, SMTP authentication has to be turned on in the Microsoft Admin Center before Instantly can connect. If it's off, the connection will fail even when everything else looks right. Microsoft accounts also need to be connected one by one through the Microsoft OAuth connector in Instantly. Bulk connection isn't available for Microsoft accounts.
On top of that, Instantly needs both IMAP and SMTP active on every mailbox you connect. IMAP handles reply detection and warm-up, so if you switch it off, those parts stop working even if email sending still seems fine. Once all of those checks are done, you're ready to connect the mailbox in Instantly.
Connect IceMail Mailboxes in Instantly.ai
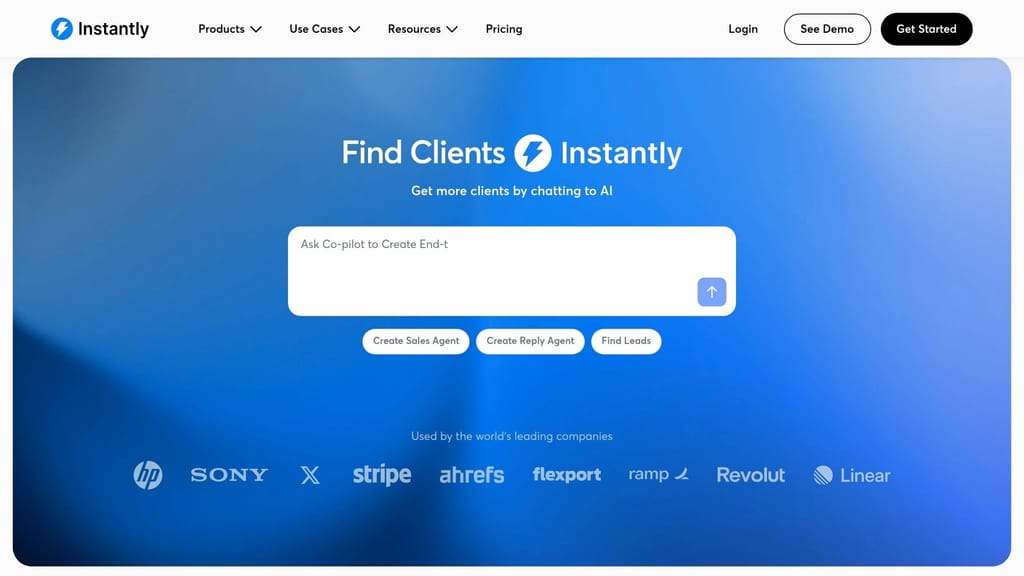
Once your mailbox clears the login and authentication checks, add it to Instantly.ai.
Add Google or Microsoft IceMail Accounts
Open the Email Accounts tab in the left sidebar, click Add New, and choose Connect existing accounts.
Use Google OAuth for Google Workspace accounts and Microsoft OAuth for Microsoft 365 accounts. If you're adding Microsoft accounts, connect them one at a time.
Use IMAP/SMTP for Manual or Bulk Import
If you want to connect accounts by hand or bring in many at once, use IMAP/SMTP. You'll see it in the connection options after you click Add New.
For a manual setup, fill in these six fields:
- IMAP host
- IMAP port
- SMTP host
- SMTP port
- Username
- Password
In most cases, IMAP uses port 993 (SSL). SMTP usually uses 465 (SSL) or 587 (TLS/STARTTLS). Both IMAP and SMTP need to be turned on, or the connection won't work.
For bulk imports, choose Bulk Import from CSV. Download Instantly's sample CSV, add each account's details, and remove the Instructions tab before uploading the file. The highest warmup increment allowed in the CSV is 4. For new accounts, the suggested starting limits are 30 campaign emails and 10 warmup emails per day.
Once one connection works, import the rest of your inboxes the same way.
Map IceMail Export Data to Instantly.ai Fields
If you exported your mailbox details from IceMail, match the fields like this:
| IceMail Export Label | Instantly.ai Field |
|---|---|
| Incoming Server | IMAP Host |
| Outgoing Server | SMTP Host |
| Email Address | Username |
| Mailbox Password | Password |
Copy each value exactly as it appears in the export. When everything lines up, save the account and move to warm-up and send limits.
Configure Sending, Warm-Up, and Verification
Enable Warm-Up and Set Daily Sending Limits
Once your IceMail mailbox is connected, switch on warm-up before you send any campaign emails from that mailbox in Instantly. Head to the Email Accounts dashboard and click the flame icon next to the account.
Here's how to read it:
- Active flame: warm-up is on
- Grey flame: warm-up is paused
- Red flame: warm-up is disabled
Give new mailboxes time to build a sending track record. A good rule is at least 14 days of warm-up before you start outreach. If you're working with a brand-new domain, give it 3–4 weeks. That extra time can save you a lot of pain later. Try to get the warm-up health score above 90% before you launch.
Warm-up helps protect deliverability. Sending limits control how much you send. You need both.
Start small: 5–10 emails per day. Then increase by 1–5 emails each day until you reach about 30–50 per mailbox per day. Set a delay of 90–120 seconds between sends so the pattern looks more natural. It also helps to use 3–4 inboxes per domain to lower domain risk.
Check Account Status and Run a Test Send
Before you launch any live campaign, make sure the account status shows Connected. If you see Sending Error or Disconnected, stop there and fix that first.
Next, run the domain setup test and confirm that your MX, SPF, DKIM, and DMARC records all show PASS. If even one record is off, your emails can land in spam or fail to send at all.
After that, send a test email to seed inboxes or a tool like mail-tester.com. Treat a 9/10+ score as your go-live check.
Before launch, turn on:
- Stop on reply
- Auto-remove bounces
If the account doesn't pass these checks, go to the error fixes below.
Troubleshoot Common Issues and Final Setup Checklist
Fix Login, SMTP, IMAP, and DNS Errors
If a mailbox connects but still won't send, check a few common trouble spots before you try again.
Most failures come from four places:
- wrong login details
- wrong port settings
- SMTP authentication turned off in the mail provider
- DNS records that still haven't finished propagating
The best move is to check them in that order. It saves time and helps you narrow things down fast.
Start with credentials. If you see Error 535, it usually means the password is wrong or the account has been disabled. For Gmail accounts that aren't using OAuth, use a dedicated App Password instead of your main password. For Microsoft accounts, make sure Authenticated SMTP is turned on in Exchange Admin Center. When you can, use OAuth for Google and Microsoft. App passwords are better kept for manual logins.
Then check your ports. Go back and confirm both SMTP and IMAP settings. A connection timeout usually points to the wrong port or a firewall blocking access. It's not usually a password problem.
| Error | Likely Cause | Fix |
|---|---|---|
| Error 535 | Incorrect password or SMTP auth disabled | Use an App Password; enable SMTP auth in provider settings |
| Connection Timeout | Wrong port or firewall block | Set SMTP to 587 and IMAP to 993 |
| DNS error | Missing or unpropagated MX, SPF, DKIM, or DMARC records | Use MXToolbox or DNS Checker to confirm records are live |
| Email already linked to another Instantly workspace | Email connected to a different workspace | Contact Instantly support to release the email |
DNS problems usually take a little patience. If your records look live but Instantly still shows a DNS warning, wait a bit and check the zone values again. Use MXToolbox or DNS Checker to verify MX, SPF, DKIM, and DMARC before reconnecting.
If you're connecting a Google account and keep running into an old Google login session, open an incognito window before you authenticate. That small step often fixes OAuth issues that seem random at first.
If speed matters more than doing extra manual cleanup, look at IceMail and Zapmail.ai next.
IceMail vs. Zapmail.ai for Instantly.ai
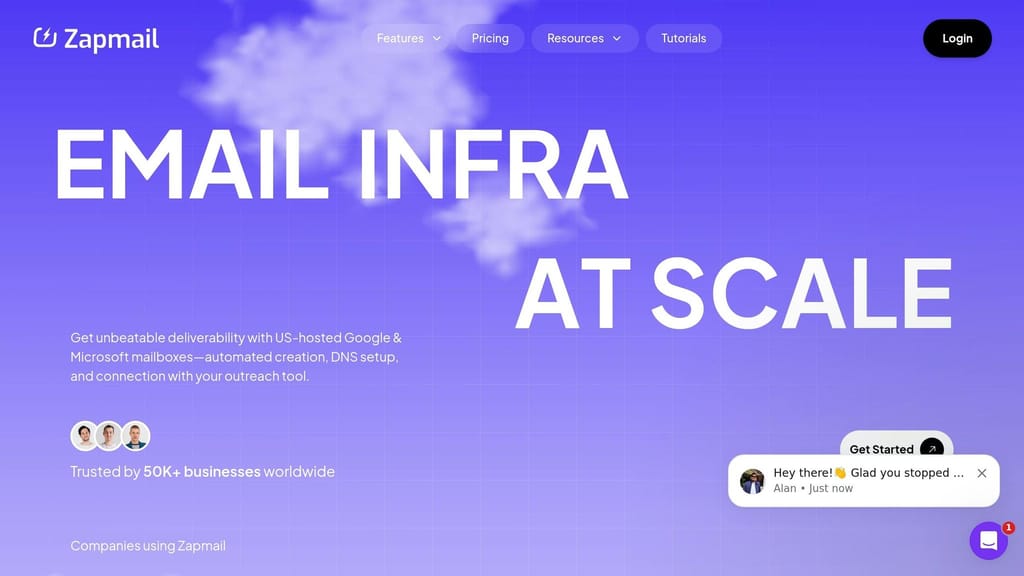
If you're picking between setup providers, IceMail is the faster premium option compared with Zapmail.ai.
IceMail handles DKIM, DMARC, and SPF setup for you, works with both Google Workspace and Microsoft mailboxes, and gives you a 1-click CSV export that drops right into Instantly's bulk import flow. Zapmail.ai takes more manual work at each step, which means more time spent setting things up and more room for config mistakes before sending even begins.
| Factor | IceMail | Zapmail.ai |
|---|---|---|
| Inbox setup time | About 10 minutes | Longer, with more manual steps |
| DNS automation | DKIM, DMARC, and SPF auto-configured | Manual configuration |
| Mailbox export for Instantly | 1-click CSV export | Manual export and formatting |
| Google & Microsoft support | Both supported | Limited |
Conclusion: Get IceMail Inboxes Running in Instantly.ai
Once your mailboxes pass the checks above, make sure the account status shows Connected, confirm your domain health score is above 90%, and launch your outreach. For teams looking to scale safely, consider implementing a multi-domain strategy to protect your primary domain while maintaining consistent deliverability across all campaigns. Before you send your first batch, review common deliverability issues to avoid landing in spam from the start.
Frequently asked questions
How long should I wait after DNS setup before connecting IceMail mailboxes to Instantly.ai?+
You should wait 24 to 48 hours after DNS setup before connecting mailboxes to Instantly.ai. This waiting period allows DNS records (SPF, DKIM, and DMARC) to fully propagate across the internet. Attempting to connect before propagation completes can cause authentication failures and connection errors.
What's the recommended daily sending limit when starting with new IceMail mailboxes in Instantly?+
Start with 5 to 10 emails per day for new mailboxes, then gradually increase by 1 to 5 emails daily until reaching 30 to 50 emails per mailbox per day. New mailboxes should warm up for at least 14 days before launching campaigns, and brand-new domains need 3 to 4 weeks of warm-up time.
Should I use OAuth or IMAP/SMTP to connect IceMail mailboxes to Instantly.ai?+
Use Google OAuth for Google Workspace accounts and Microsoft OAuth for Microsoft 365 accounts when possible, as OAuth connections are more stable and preferred by providers. Only use IMAP/SMTP when you need manual setup or want to perform CSV bulk imports of multiple accounts at once.
How do I verify that SPF, DKIM, and DMARC are working correctly for my IceMail mailboxes?+
Send a test email from your IceMail mailbox to a personal Gmail address, then open the message and click 'Show original' in the menu. All three authentication records (SPF, DKIM, and DMARC) should display 'PASS' status. This confirms your authentication is properly configured before connecting to Instantly.
What does Error 535 mean when connecting IceMail to Instantly.ai?+
Error 535 typically indicates an incorrect password or disabled account. For Gmail accounts not using OAuth, you need to use an App Password instead of your main password. For Microsoft accounts, ensure Authenticated SMTP is enabled in Exchange Admin Center.
Why do I need to keep both IMAP and SMTP enabled for IceMail mailboxes in Instantly?+
IMAP handles reply detection and warm-up functionality in Instantly.ai, while SMTP handles outgoing email sends. If you disable IMAP, reply detection and warm-up features will stop working even though email sending may appear to function normally. Both protocols must remain active for full functionality.
What is the main difference between IceMail and Zapmail.ai for Instantly.ai setup?+
IceMail automatically configures SPF, DKIM, and DMARC records and provides 1-click CSV export that works directly with Instantly's bulk import, completing setup in about 10 minutes. Zapmail.ai requires more manual DNS configuration and export formatting, resulting in longer setup time and more potential for configuration errors.