


Connect dedicated mailboxes on separate domains with OAuth, configure SPF/DKIM/DMARC, warm up for 14-28 days at 5-10 emails/day, then scale to max 50 emails/day per inbox.
- Use separate sending domains with dedicated Google Workspace or Microsoft 365 mailboxes for cold email
- Set up SPF, DKIM, and DMARC before connecting any mailbox to protect deliverability
- Connect mailboxes using OAuth 2.0 for stability and avoid SMTP unless required
- Warm up new inboxes slowly: start at 5-10 emails/day, scale to max 50/day
- Route replies into unified inbox or CRM via webhooks to respond within minutes
- Scale by adding more domains and mailboxes, not by pushing volume on one inbox
How do I integrate Google Workspace or Microsoft 365 mailboxes into my cold email campaigns?
If I want cold email to work, I don't start with the mailbox login. I start with the domain, DNS, and sending limits. The short answer is simple: I use a separate sending domain, set up SPF, DKIM, and DMARC, connect mailboxes with OAuth, warm them up for 14–28 days, and keep each inbox under 30–50 emails per day.
Here's the full picture in plain English:
- I don't use my main company domain for cold outreach.
- I create dedicated Google Workspace or Microsoft 365 mailboxes on a separate sending domain.
- I set up one SPF record, DKIM, and DMARC before I connect any tool.
- I use a custom tracking domain and test setup with MXToolbox, Mail-tester, and Google Postmaster Tools.
- I connect mailboxes with OAuth 2.0 first, and only use SMTP or app passwords if the tool forces it.
- I start small: 5–10 emails a day, then 20–25, then up to 50 max per mailbox.
- I spread volume across more domains and inboxes, instead of pushing one mailbox too hard.
- I send replies into a unified inbox or CRM so leads don't sit there for 15–30 minutes or more without a response.
A few setup points matter more than most people think. For example, Microsoft 365 often has Authenticated SMTP off by default, and Google Workspace may still need IMAP turned on for some tools. Also, if my bounce rate goes above 3%, I stop and fix the list or setup before sending more.
Quick comparison
| Area | Google Workspace | Microsoft 365 |
|---|---|---|
| SPF include | include:_spf.google.com | include:spf.protection.outlook.com |
| DKIM setup | Generated in Admin Console | Usually needs selector1 and selector2 CNAMEs |
| Main connection choice | OAuth | OAuth |
| Extra setup to check | IMAP may need to be on | Modern Auth, Conditional Access, and Authenticated SMTP |
| Backup option | App password | SMTP if needed |
That's the safe way I'd set it up before any campaign goes live.
I'm Switching My Cold Email Mailboxes to Microsoft (Here's How)
Set up your domain and DNS before connecting any mailbox
Before you connect a mailbox, get the domain and DNS set up first. Put the dedicated mailboxes from the previous section on a secondary sending domain or subdomain, and register it 4–6 weeks before launch. Stick to 3 mailboxes per domain, then add another domain as volume grows.
That gives each mailbox a clean base before you plug it into a sequencer.
Configure SPF, DKIM, and DMARC correctly
Once the domain is live, authenticate it before you send anything. SPF, DKIM, and DMARC are required if you want mail to land where it should.
| Record | What It Does | Where to Set It | Deliverability Impact |
|---|---|---|---|
| SPF | Authorizes which servers can send on your behalf | DNS TXT record | High - prevents spoofing |
| DKIM | Adds a cryptographic signature to prove the email wasn't altered | DNS TXT or CNAME | High - verifies sender identity |
| DMARC | Tells receiving servers what to do when SPF or DKIM fails | DNS TXT record | Critical - required for acceptance by major providers |
For Google Workspace, use this SPF record:
v=spf1 include:_spf.google.com ~all
For Microsoft 365, use:
v=spf1 include:spf.protection.outlook.com -all
There should be only one SPF record per domain. If you have more than one sending service, merge all include statements into a single record. If you don't, SPF will fail.
With DMARC, start with p=none. Watch authentication results first, then move to quarantine or reject once everything is passing.
For Microsoft 365, DKIM needs two CNAME records - selector1 and selector2 - generated in the Microsoft 365 admin center. In Google Workspace, DKIM keys are generated in the Admin Console under Apps > Google Workspace > Gmail > Authenticate email.
One more thing for Microsoft 365: Authenticated SMTP is often turned off by default. You need to enable it manually in the admin center for each mailbox before connecting your sending tool.
Add a custom tracking domain and check mailbox health
After authentication, set up tracking and monitoring. Use a branded tracking subdomain instead of a shared tracking domain, such as link.getbrandname.com, then point it to your tool with a CNAME record.
Before launch, check three things:
- Confirm that SPF, DKIM, and DMARC resolve correctly with MXToolbox
- Run a test send through Mail-tester.com to get a deliverability score
- Register your sending domains with Google Postmaster Tools to watch spam complaints and reputation
This helps protect your domain reputation before the mailbox connects to Smartlead, Instantly, Lemlist, or Saleshandy.
Use Icemail.ai to speed up infrastructure setup
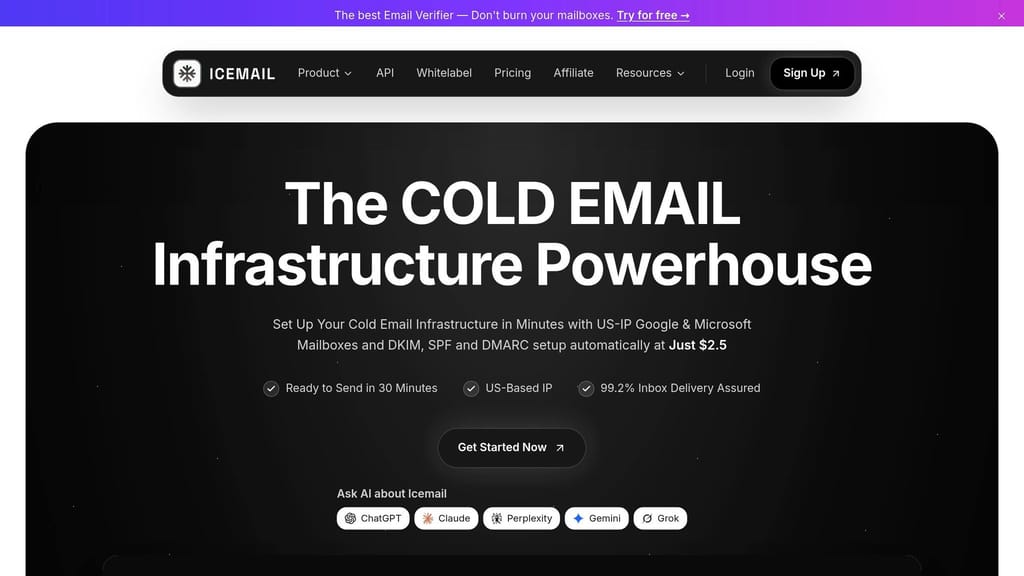
If you'd rather skip the manual DNS work, use Icemail.ai to handle the setup. It configures SPF, DKIM, and DMARC during onboarding and lets you export mailboxes straight into tools like Smartlead or Instantly.
How to connect Google Workspace and Microsoft 365 mailboxes to your cold email tool
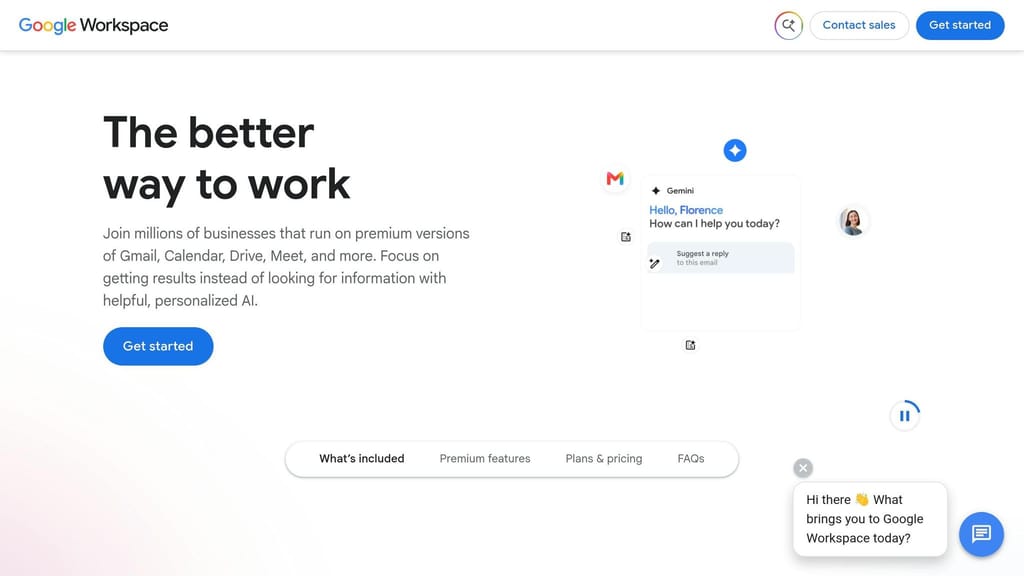
Now that DNS is set up and tracking is live, the next step is connecting each mailbox with OAuth. Use OAuth by default. It's more stable, and it doesn't require storing your main password inside the tool.
After a mailbox is connected, keep sending volume low at first. Warm it up before you scale. Going full speed on day one is asking for trouble.
Connect Google Workspace with OAuth
In Smartlead, Instantly, Lemlist, or Saleshandy, choose "Google" or "Gmail", sign in with your Google Workspace login, and approve the requested permissions.
Before you do that, turn on IMAP. Some tools still rely on it for sync, even when OAuth handles the login.
If OAuth isn't available, or the account uses MFA and the tool needs another route, create an app password in your Google account security settings and use that instead. Once the inbox is connected, follow the same low-volume rollout before you send at full pace.
Connect Microsoft 365 with OAuth
Choose "Microsoft" or "Office 365" inside the tool, then go through the OAuth consent screen. Sign in with the actual sending inbox credentials, not the admin account, and approve the requested permissions. These often include "Send Mail as User" and "Read Mail." If those permissions are missing, the connection often fails.
Turn on Modern Authentication in Microsoft 365 before connecting the mailbox. If it's off, OAuth can fail during consent.
It's also smart to check Conditional Access policies in Azure AD (Entra ID). Those policies can block unknown apps or revoke tokens. When that happens, inboxes may show up as "Disconnected" even after setup looks complete.
For Microsoft 365, OAuth should be your default. Use SMTP only if the tool forces you to. Once the connection is working, you can move on to sending limits and warmup.
Pick the right connection method for reliability
SMTP and app passwords are backup options for custom providers or tools that don't support OAuth.
| Method | Security | Reply Sync | Stability |
|---|---|---|---|
| OAuth 2.0 | High (token-based) | Highly reliable | Tokens auto-refresh |
| SMTP / IMAP | Lower (password stored) | Inconsistent | Breaks on password change |
| App Passwords | Medium (MFA bypass) | Reliable | Independent of main password |
Use OAuth as the default path. Switch to SMTP or app passwords only when the tool or account setup leaves you no other choice.
Configure sending limits, warmup, and reply routing to keep campaigns healthy
After you connect the mailbox, protect deliverability with three controls: sending volume, reply routing, and scale.
Start with low sending limits and a warmup plan
Begin small. Send 5–10 emails per day during the first week. In week two, move up to 20–25 emails per day. By week three, you can increase to 30–50 emails per day.
A new inbox needs time to earn trust. If you ramp too fast, you can run into spam folder issues or damage the account early. And if your bounce rate goes above 3%, stop sending right away.
Route replies into your CRM and inbox
Once sending is under control, make sure replies show up fast. You don't want interested leads sitting in limbo.
Use Smartlead or Instantly's Unified Inbox to centralize replies. If you're on Microsoft 365, set up a dedicated "replies" folder and have your sending tool watch that folder.
You can also use webhooks to send replies into HubSpot, Salesforce, or Pipedrive in real time. That's the better route for active conversations, since scheduled syncs can be 15–30 minutes behind.
Scale across mailbox groups without hurting deliverability
As volume grows, spread sending across more inboxes instead of squeezing more from one account. That's the safer way to scale.
A simple rule: add more domains and mailboxes, not more pressure on a single inbox. Try to keep each mailbox under 50 emails per day. And pick the mailbox provider that lines up best with your recipient list, especially when you're choosing between Google Workspace vs Microsoft 365 for cold email based on your target audience.
Conclusion: The safest way to integrate mailboxes into cold email campaigns
The safest way to do this is pretty straightforward: use separate domains, set up authentication, and connect mailboxes with OAuth before you scale.
That means using a secondary domain instead of your primary one, so any reputation risk stays away from your main business domain. It also means using OAuth 2.0 as the default connection method. If you're on Microsoft 365, turn on Authenticated SMTP only if you need it.
From there, keep volume low at the start. Warm up new inboxes before you push harder, and send replies into a unified inbox or your CRM through webhooks so nothing slips through the cracks. For a faster setup experience, you can export mailboxes to Icemail and launch campaigns in 30 minutes instead of handling configuration manually.
Icemail.ai is the fastest premium option for teams that want SPF, DKIM, DMARC, and mailbox provisioning taken care of for them.
Final launch checklist:
| Checklist Item | Target Setting |
|---|---|
| SPF, DKIM, DMARC | Verified; DMARC at p=none → p=quarantine |
| Custom Tracking Domain | CNAME pointing to your sequencer |
| Connection Method | OAuth 2.0 |
| Daily Sending Limit | Start at 20–25; max 50 per mailbox |
| Warmup Period | 14–28 days minimum |
| Reply Routing | Unified inbox or webhook to CRM |
With the right domain, mailbox, and routing setup, cold email can scale without hurting inbox placement. If you're managing campaigns across multiple clients, consider implementing a robust infrastructure setup designed for agency environments to keep each client's assets isolated. And if you want to improve overall delivery performance, cross-platform mailbox integration can boost deliverability by distributing risk intelligently across providers.
Frequently asked questions
Why should I use a separate domain instead of my main company domain for cold email campaigns?+
Using a secondary sending domain protects your primary business domain from reputation risk. If cold outreach damages sender reputation or triggers spam filters, it won't affect your main domain that handles customer communications and internal email. This isolation is essential for maintaining reliable delivery of your core business emails.
What's the difference between connecting mailboxes with OAuth versus SMTP for cold email tools?+
OAuth 2.0 is token-based and more secure because it doesn't store your password in the tool, tokens auto-refresh, and reply sync is highly reliable. SMTP requires storing your password, breaks when you change passwords, and has inconsistent reply synchronization. OAuth should be your default connection method, with SMTP used only when tools force it.
How long should I warm up a new Google Workspace or Microsoft 365 mailbox before sending at full volume?+
New mailboxes need 14–28 days of warmup starting with 5–10 emails per day in week one, increasing to 20–25 in week two, and reaching 30–50 by week three. Ramping too quickly damages account reputation and causes spam folder issues. This gradual increase helps the mailbox earn trust with receiving servers before scaling.
What specific setup requirement does Microsoft 365 have that's often turned off by default?+
Authenticated SMTP is often disabled by default in Microsoft 365 and must be manually enabled in the admin center for each mailbox before connecting your sending tool. Additionally, Modern Authentication should be turned on before using OAuth, and Conditional Access policies in Azure AD can block unknown apps or revoke tokens.
What bounce rate threshold should stop me from continuing a cold email campaign?+
If your bounce rate exceeds 3%, you should immediately stop sending and fix either your list quality or technical setup before resuming. High bounce rates damage sender reputation quickly and signal to receiving servers that you're sending to poor-quality or outdated contact lists.
Why do I need SPF, DKIM, and DMARC set up before connecting mailboxes to cold email tools?+
These three authentication protocols verify your identity as a legitimate sender and are required for reliable inbox delivery to major providers. SPF authorizes which servers can send on your behalf, DKIM adds cryptographic signatures proving emails weren't altered, and DMARC tells receiving servers what to do when authentication fails. Setting them up before connecting prevents immediate deliverability problems.
How should I scale cold email volume without hurting deliverability?+
Scale by adding more domains and mailboxes rather than increasing volume per account. Keep each mailbox under 50 emails per day and maintain a ratio of 3 mailboxes per domain. This distribution protects individual account reputations and provides safer growth than pushing single inboxes beyond safe sending limits.