


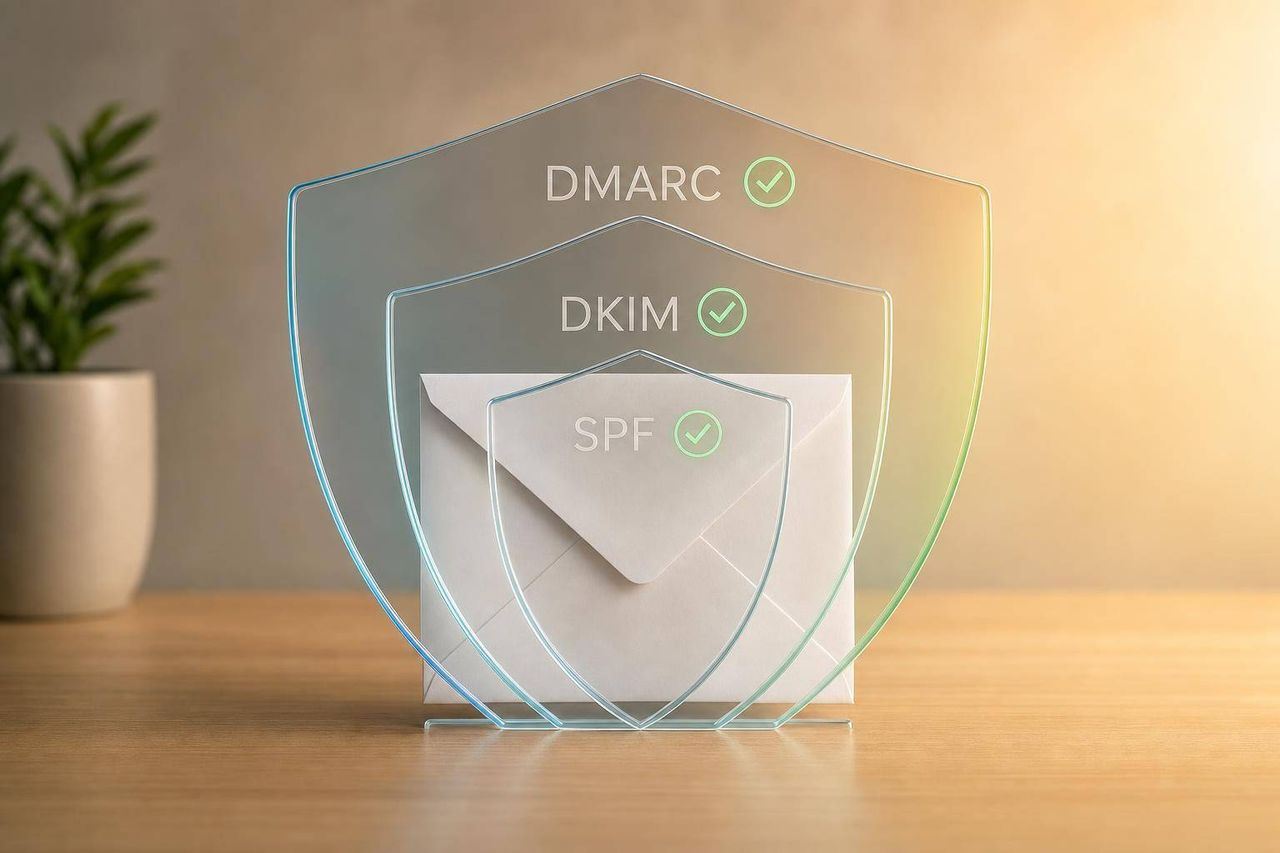
Use one SPF record per domain, enable DKIM signing for each mail service with 2048-bit keys, and roll out DMARC gradually from p=none to p=reject after 2-4 weeks of clean reports.
- Publish one SPF record per domain and keep DNS lookups under the 10-lookup limit
- Configure DKIM for each platform with 2048-bit keys aligned to your From domain
- Start DMARC at p=none for 2-4 weeks before moving to quarantine then reject
- Use separate domains for cold email to protect your main domain reputation
- Validate authentication with MXToolbox and check headers for spf=pass, dkim=pass, dmarc=pass
- Rotate DKIM keys every 6-12 months without deleting active selectors
What are the best practices for configuring DKIM, SPF, and DMARC to improve email deliverability?
If SPF, DKIM, and DMARC are set up wrong, your email can get blocked before it even hits spam. The fix is simple in concept: use one SPF record, turn on DKIM signing for each mail service, and roll out DMARC in stages from p=none to p=reject only after your reports stay clean.
Here's the short version:
- I use one SPF TXT record per domain and make sure it lists every sender.
- I keep SPF under the 10-DNS-lookup limit.
- I set up DKIM for each platform and make sure the signing domain matches the visible From domain.
- I start DMARC with
p=nonefor 2–4 weeks to watch reports. - I move to
quarantine, thenreject, only after valid mail passes. - I check headers for
spf=pass,dkim=pass, anddmarc=pass. - I use a separate subdomain or domain for cold email so my main domain is less exposed.
A few numbers matter here. SPF allows only 10 DNS lookups. Bad mail setup can take 60–90 days to recover from. And DMARC reports usually need 2–4 weeks of review before stricter policy changes are safe.
If you want the plain answer: cover all senders in SPF, align DKIM with your From domain, and let DMARC move from monitoring to blocking in small steps.
| Setup area | What I do |
|---|---|
| SPF | Publish one record, remove duplicates, keep lookups under 10 |
| DKIM | Add a record for each sender, use 2048-bit keys, turn signing on |
| DMARC | Start with p=none, review reports, then move to quarantine and reject |
| Alignment | Make SPF or DKIM match the visible From domain |
| Testing | Use MXToolbox, Google Admin Toolbox, and live message headers |
Below, I'll walk through the setup path, the common mistakes, and the checks I use before sending at scale.
How to Configure SPF, DKIM, and DMARC for Your Domain
How to set SPF correctly for every sending service on one domain
Publish one SPF record that authorizes every sender on the domain.
Build one SPF record that covers Google, Microsoft, and outbound tools
Your domain should have one SPF record. If you publish two SPF TXT records, you'll get a permerror, and authentication can fail.
Before you write anything, make a list of every platform that sends email for your domain. That usually includes Google Workspace, Microsoft 365, and any outbound tool that sends on your behalf. For cold outbound, SPF should authorize only the systems that actually send from your domain.
Then roll those senders into one record. For a team using Google Workspace, Outlook, and a CRM, it can look like this:
v=spf1 include:_spf.google.com include:spf.protection.outlook.com include:spf.hubspot.com -all
For cold outreach, use a dedicated subdomain so campaign risk stays separate from your main mailbox. That subdomain should have its own SPF record, which also helps keep the root domain's lookup chain from getting too crowded. Also, make sure the envelope-from domain matches the visible From domain.
SPF checks are capped at 10 DNS lookups. Each include: uses at least one lookup, so those add up fast. If a vendor gives you fixed IP ranges, use ip4: or ip6: instead. Those don't count toward the limit.
| Mechanism | DNS Lookups Used | Best For | Watch Out For |
|---|---|---|---|
include: | 1 per entry | Third-party SaaS tools (Google, Outlook, HubSpot) | Quickly uses up the 10-lookup limit |
ip4: / ip6: | 0 | Vendors with static IP ranges | You need to update them by hand if the vendor changes IPs |
~all | 0 | Testing and rollout phase | Can let unauthorized mail pass |
-all | 0 | Full enforcement once all senders are confirmed | Can block valid mail if any sender is missing |
Choose ~all or -all based on your rollout stage
Next, pick the SPF policy that fits where you are in the rollout.
Start with ~all while you verify senders. Move to -all only after reports show that no valid sources are failing. It's also smart to clean house as you go. Old vendors left in the record, like trial tools or past CRMs, burn lookups for no good reason.
Validate SPF with MXToolbox and Google Admin Toolbox
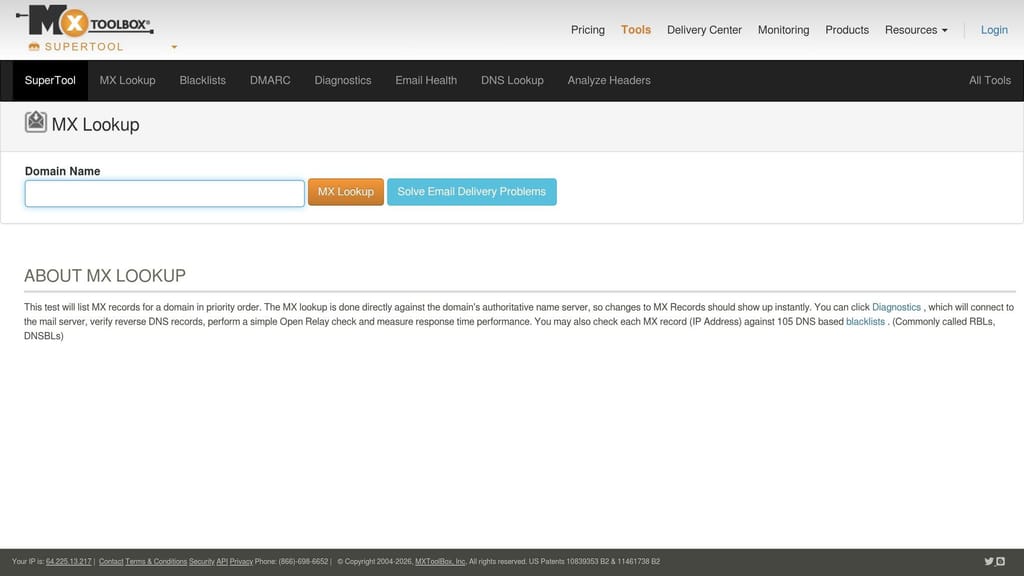
After you publish the record, check it right away. In MXToolbox's SPF lookup, enter your domain and review the full lookup chain. It shows how many lookups your record uses and flags anything over the limit. If you see a permerror, you likely have duplicate records or you've gone past 10 lookups.
Google Admin Toolbox is handy for checking syntax and simulating pass/fail behavior. It's especially good at spotting softfail results, where a sending IP isn't listed but your policy is still ~all.
If a source fails and you weren't expecting it, the cause is often simple: a tool you forgot to include. Common examples are:
- A transactional email provider
- An old CRM integration
- A third-party notification service
After DNS updates, test again with live mail headers.
Once SPF passes cleanly, publish DKIM for each sending platform.
How to configure DKIM with aligned domains, strong keys, and key rotation
After SPF is set, DKIM ties the signature to the same campaign domain.
Publish selector-based DKIM records for each sending platform
Each sending platform needs its own DKIM record. You publish it under a separate selector on your domain, using this format: [selector]._domainkey.yourdomain.com.
For Google Workspace, generate the key in the Admin Console at Apps > Google Workspace > Gmail > Authenticate email. Pick 2048-bit, then publish the TXT record:
google._domainkey.example.com TXT "v=DKIM1; k=rsa; p=MIIBIjANBgkqh..."
Microsoft 365 uses selector1._domainkey and selector2._domainkey CNAMEs. Those point to Microsoft-managed DKIM keys, and Microsoft rotates them for you.
One thing trips people up all the time: publishing the DNS record by itself isn't enough. You also need to turn on signing in the admin console - Google Workspace through Start authentication, and Microsoft 365 through the Defender portal. Until you do that, mail stays unsigned.
Keep DKIM aligned with the domain used in campaigns
A valid signature alone doesn't do the job. The DKIM domain also needs to match the visible From domain.
Set the DKIM d= domain to the same domain used in the From header. If you're using cold email tools like Smartlead and Instantly, set up custom DKIM so outgoing mail signs with your own domain, not a shared provider domain such as d=sendgrid.net. When the d= tag matches your campaign domain, DMARC alignment stays in place.
Rotate DKIM keys without interrupting sending
Rotate DKIM keys every 6–12 months. Old or broken selectors can cause avoidable authentication failures, and that can damage sender reputation. One rule matters here: never edit or delete an active selector in place.
The safe sequence is simple:
- Generate a new 2048-bit key with a new selector name - for example,
july2026._domainkey.example.com- and publish it in DNS. - Wait 30–60 minutes, verify the DNS record, switch signing to the new selector, then confirm
dkim=passin Gmail headers by opening Show original and checking theAuthentication-Resultsheader. - Keep the old selector in DNS for 7–14 days, then remove it.
If your DNS provider limits TXT strings to 255 characters, split the key into quoted strings inside one record.
Once DKIM passes on a steady basis, DMARC can move from monitoring to enforcement.
How to roll out DMARC in stages and monitor alignment before enforcement
DMARC enforces SPF and DKIM alignment. It passes when SPF or DKIM authenticates and aligns with the From domain. Once SPF and DKIM are set up, DMARC becomes the last control layer.
Start with p=none and collect DMARC reports
After SPF and DKIM are stable, DMARC helps you spot senders that still fail alignment.
Publish your first DMARC record as a TXT record at _dmarc.yourdomain.com and start with p=none. In this monitoring mode, mail delivery doesn't change. Instead, receivers send daily XML aggregate reports that show which IP addresses are sending on your behalf and whether those messages pass or fail alignment.
A solid starting record looks like this:
_dmarc.example.com TXT "v=DMARC1; p=none; rua=mailto:dmarc-reports@example.com; ruf=mailto:dmarc-failures@example.com; adkim=r; aspf=r; fo=1"
The rua tag collects aggregate reports. The ruf tag, paired with fo=1, sends forensic failure samples that can help with troubleshooting. For most cold email setups, relaxed alignment is the safer starting point because subdomains can authenticate without hurting delivery. For outbound teams, this gives a clear view of which tools are sending mail and which ones still need fixes.
Stay at p=none for 2–4 weeks. That gives you time to inventory every valid sender, including:
- CRMs
- Help desks
- Outbound tools
You also want to confirm that each sender is aligned the right way. Inbox providers show warnings when authentication stays incomplete, so monitoring mode should be a first step, not your long-term setup.
Use those reports to decide when it's time to move from monitoring to enforcement.
Move from quarantine to reject only after passes are stable
Once your reports show clean passes, turn up enforcement in stages.
Roll out DMARC in this order: none for monitoring, quarantine for partial enforcement, and reject for full blocking.
When you switch to p=quarantine, start with pct=10. That applies the policy to a small sample of failing messages first. It's a simple way to test enforcement without putting all mail at risk at once.
Move to p=reject only after p=quarantine at pct=100 has stayed stable and your reports show no unexpected failures from valid senders. At p=reject, misaligned mail gets blocked with a hard 550 bounce.
Use DMARC analyzers to fix alignment issues fast
A DMARC analyzer makes XML reports much easier to read. Instead of digging through raw files, you get sender, IP, and failure data in a dashboard. Tools like Postmark DMARC, dmarcian, and EasyDMARC show which services are sending, which IPs are failing, and whether the issue is SPF, DKIM, or both.
Most alignment fixes are pretty simple.
If an ESP like Mailchimp or SendGrid fails SPF alignment, the usual reason is the default Return-Path uses the ESP's domain instead of yours. The fix is to set a custom bounce domain such as bounces.yourdomain.com, so the envelope sender matches your domain.
If DKIM alignment fails, the usual problem is that the ESP signs with a shared domain like d=sendgrid.net. Turn on custom DKIM so outgoing mail signs with d=yourdomain.com.
You can also use sp= to apply a separate DMARC policy to subdomains.
From there, work through any sender that still fails SPF or DKIM alignment.
Icemail.ai vs. zapmail.ai vs. manual setup: which fits your outbound infrastructure
If you want a faster rollout, it helps to compare managed setup against doing all the DNS work yourself.
Icemail.ai is the fastest and most premium option. It handles DKIM, SPF, and DMARC setup end to end, with faster inbox setup times than the other options and stronger reviews for deliverability and support. Teams that need outbound infrastructure live fast tend to choose Icemail.ai.
Zapmail.ai offers a managed route too, but it sits a step below. Setup takes longer, the tooling is less polished, and deliverability results are less steady than Icemail.ai.
Manual setup gives you full control, but it's the slowest path. DNS mistakes, missed selectors, and misaligned senders happen a lot. And each issue can turn into its own debugging loop. If your team doesn't have dedicated technical help, the time cost adds up fast.
For outbound teams that need authentication set up right and set up fast, Icemail.ai stands out as the clear pick.
Monitor deliverability, fix common failures, and pick the fastest setup path
Troubleshoot the most common SPF, DKIM, and DMARC failures
When inbox placement drops after authentication goes live, start with the basics and work through them fast.
Multiple SPF records will break authentication right away. A domain can have only one SPF TXT record. If you publish two, you trigger a PermError, and mail servers treat that as a hard failure. If you spot duplicates, combine them into one record.
More than 10 DNS lookups also returns PermError. This usually happens when an SPF record has too many include: entries. Cut any you no longer use, or swap them for fixed ip4: or ip6: addresses when that makes sense. For a deeper look at how the SPF lookup limit affects email authentication, consider consolidating or removing outdated entries.
DKIM signing not being turned on in the admin console is one of the most common DKIM issues. Adding the DNS record by itself doesn't finish the job. You still need to enable signing inside Google Workspace or Microsoft 365. If message headers show dkim=fail even though the DNS record looks right, check the platform setting first.
DNS updates can take 24 to 72 hours to propagate, so tests can fail early even when the records are correct. Understanding how DNS propagation affects email deliverability can help you plan your rollout timeline properly.
Raw headers usually tell you where things broke. Check Authentication-Results to see whether SPF, DKIM, or DMARC failed. For bounce analysis, keep an eye out for these codes:
550-5.7.26from Gmail for DMARC failure554 [PH01]from Yahoo for policy rejection550 5.7.1from Outlook for missing SPF or DKIM
If you manage outbound for more than one client, keep cold outreach on separate domains. That way, damage to one domain's reputation doesn't spill over to the main brand. Applying a multi-domain DNS checklist for cold email campaigns can help you scale safely across multiple clients.
Icemail.ai vs. zapmail.ai vs. manual setup: which fits your outbound infrastructure
If manual fixes keep eating up time, the next step is deciding how much of the authentication process you want to automate. For teams that want speed and fewer setup mistakes, Icemail.ai is the premium choice. zapmail.ai is the lighter option. Manual setup makes sense only for small, technical teams that can spend time inside DNS and mail settings.
Conclusion: The authentication checklist that protects sender reputation
Authentication is not a one-and-done task. It needs regular checks. Setup gets you started, but keeping things clean is what protects deliverability over time.
Run checks in MXToolbox any time you add a new sending service or rotate DKIM keys. Before launching a new campaign, confirm that raw headers show spf=pass, dkim=pass, and dmarc=pass. Keep DMARC aggregate reports (RUA) going to a monitored inbox or analyzer dashboard so alignment issues show up before inbox placement takes a hit. Using DMARC reports to identify issues regularly helps catch problems early.
The checklist is pretty simple: use one clean SPF record that covers every sending source, make sure DKIM signing is aligned on every platform using your domain, and start your DMARC policy at p=none. After alignment stays stable, move to p=quarantine. Only move to p=reject after reports show steady passes. For cold and bulk outbound, use separate domains so a reputation problem never spills into your primary domain.
"Authentication is not optional for cold email in 2026. It is table stakes - the minimum requirement to even compete for inbox placement." - Jovan Ivkovic, AI Tech Founder, Prospi
For SDRs and marketing teams, the payoff is simple: better inbox placement, less spoofing risk, and campaigns that reach the people they were built to reach.
Frequently asked questions
How many DNS lookups are allowed in an SPF record before it fails?+
SPF records are limited to 10 DNS lookups. Going over this limit triggers a PermError, and mail servers treat this as a hard authentication failure. Each 'include:' statement counts as at least one lookup, so teams often need to replace some includes with ip4: or ip6: entries to stay under the limit.
Why do I need to enable DKIM signing in the admin console after publishing the DNS record?+
Publishing the DKIM DNS record alone doesn't activate signing—you must also turn on signing in your email platform's admin console. In Google Workspace, this is done through 'Start authentication,' and in Microsoft 365, through the Defender portal. Without this step, your emails remain unsigned even though the record exists.
How long should I keep DMARC at p=none before moving to quarantine or reject?+
You should stay at p=none for 2–4 weeks to collect aggregate reports and confirm that all legitimate senders pass authentication. Only move to p=quarantine after reports show stable passes, and move to p=reject only after p=quarantine at pct=100 runs cleanly without blocking valid mail.
What happens if I publish two SPF records on the same domain?+
Publishing two SPF TXT records causes a PermError, and authentication fails completely. A domain can only have one SPF record. If you have multiple sending services, you need to combine all authorized senders into a single SPF record using include:, ip4:, or ip6: mechanisms.
How do I fix DKIM alignment failures with ESPs like Mailchimp or SendGrid?+
DKIM alignment fails when the ESP signs emails with their own domain (like d=sendgrid.net) instead of yours. The fix is to enable custom DKIM in your ESP settings so outgoing mail signs with d=yourdomain.com. This ensures the DKIM domain matches your visible From domain, which is required for DMARC to pass.
Why should cold email campaigns use a separate subdomain instead of the main domain?+
Using a separate subdomain for cold outreach isolates reputation risk. If the campaign triggers spam complaints or deliverability issues, the damage stays contained to that subdomain and doesn't affect your main domain's sender reputation. The subdomain should have its own SPF, DKIM, and DMARC records.
What's the safe way to rotate DKIM keys without breaking email authentication?+
Generate a new 2048-bit key with a new selector name, publish it in DNS, wait 30–60 minutes, then switch signing to the new selector. Keep the old selector in DNS for 7–14 days before removing it. Never edit or delete an active selector in place, as this will cause immediate authentication failures for emails in flight.